Midjourney Pro Visuals in Practice: The Code and Commands That Really Matter
Midjourney Pro Visuals: the essentials in one article — real code, diagrams and concrete steps, excerpts from a 43-lesson course.
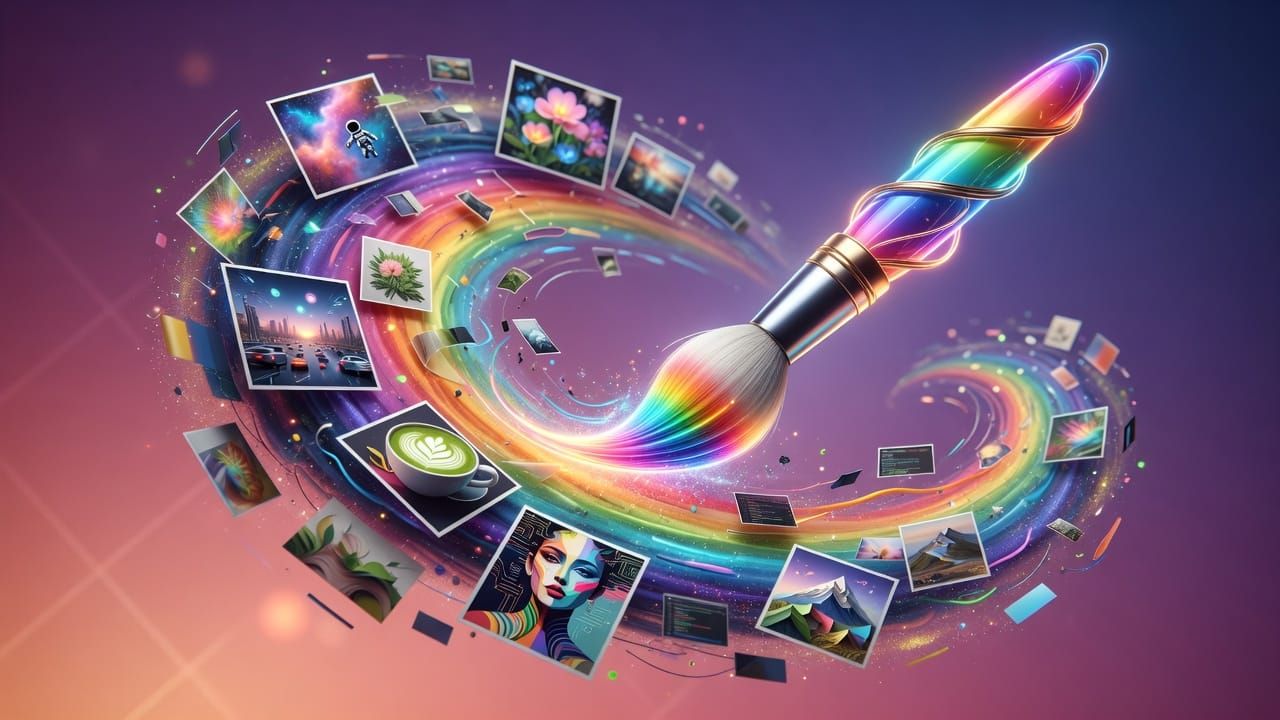
No endless theory here: open the terminal and practice. Here is the essence of Midjourney Pro Visuals, extracted directly from a complete 43-lesson course — with real code you can copy-paste right now.
- Introduction and Setup
- Anatomy of a Good Prompt
- Advanced Parameters and Flags
- Styles and Aesthetics
- Character Consistency and Style Reference
Style Reference (--sref)
--sref (style reference), and adjust its influence with --sw.Learning objectives
- Distinguish style reference from character reference
- Use
--srefwith one or more URLs - Adjust influence with
--sw - Use numeric style codes
- Create brand visual consistency
The intuition: copy the atmosphere, not the subject
While --cref copies a character, --sref copies a style: the color palette, texture, lighting, and overall “grain” of a reference image — but not its subject. You can therefore generate a car, a landscape, and a portrait that all share the same visual atmosphere.
It is the key tool for brand consistency: all your visuals “look alike” without being identical.
The --sref syntax
Numeric code
A reusable style identifier. Useful for replaying an atmosphere discovered at random.
Brand consistency
The typical pro scenario: you define ONE “house” style reference and apply it to all your visuals.
Pro photography
Learning objectives
- Write a credible portrait prompt
- Compose a landscape with depth
- Create a studio-level product photo
- Use the right lens and lighting terms for each genre
- Activate raw mode to maximize realism
The intuition: imitate real-world craft
To obtain a “real photo,” you must speak like a real photographer: specify the lens, lighting, and type of shot. Midjourney has seen millions of real photos captioned with these terms. The more you describe a credible photographic setup, the more authentic the result appears.
The portrait
A good portrait combines a long focal-length lens (which flatters features), shallow depth of field (blurred background), and soft light.
First image with /imagine
/imagine command, understand the four-image grid, and learn the U, V, and regenerate buttons.Learning objectives
- Use the
/imaginecommand correctly - Read and interpret the four-image grid
- Distinguish the U (Upscale) and V (Variation) buttons
- Know the essential beginner commands
- Complete your first render from start to finish
The intuition: one command, four proposals
Everything starts with /imagine. You type this command followed by your description, and Midjourney thinks for about a minute before returning a grid of four images numbered 1, 2, 3, 4 (left to right, top to bottom).
Why four? Because generation is partly random: the model explores four different interpretations of your prompt. You then choose the one that speaks to you most, then refine or enlarge it.
Your first prompt
On Discord, in a channel where the Midjourney bot is present (or in a direct message to the bot), type:
/imagine command. Just type the description and press Enter.Reading the grid: the U and V buttons
Buttons appear beneath the grid. Here is what they do.
| Button | Action | When to use |
|---|---|---|
| U1 to U4 | Upscale: isolates and enlarges the chosen image | When one of the four images suits you |
| V1 to V4 | Variation: generates 4 new versions close to the chosen image | When an image is almost good but needs adjustment |
| Re-roll (circular arrow) | Completely restarts the same prompt | When none of the four images work |
U = Upscale
The U button selects an image and processes it at full resolution. This is the step before downloading.
V = Variation
The V button explores close alternatives: same spirit, different details. Ideal for converging on the right result.
Essential commands to know
Beyond /imagine, a few commands come up constantly. Here is your basic toolkit.
This article covers the most useful excerpts — the complete Midjourney Pro Visuals course (11 chapters, 43 lessons, corrected exercises and final project) takes you all the way.
./access-the-full-course free course: Claude CoworkFAQ
How long does it take to learn Midjourney Pro Visuals?
Are any prerequisites required?
Where should I start concretely?
📬 Want to receive this type of guide every week? Subscribe for free — real code, zero fluff.